
After purchasing our hosting account, you will receive a welcome email message from us. It will contain our nameservers, and you will need to update your domain nameservers to ours.
If your domain is registered at GoDaddy, you should follow this tutorial to update the nameservers of your domain to our nameservers.
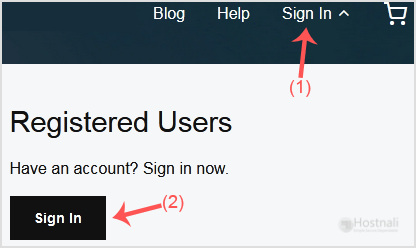
1. Visit Godaddy.com and click on Sign In. Under “Registered Users”, click again on Sign in, and you will be redirected to the login form.
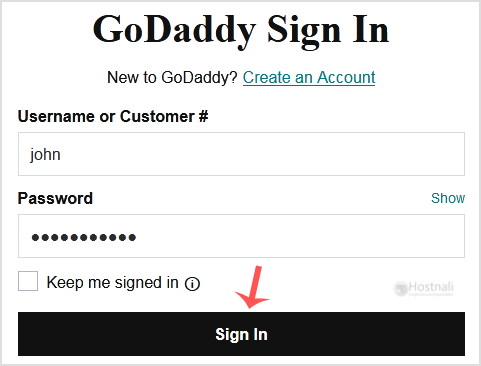
2. Enter the Username or Customer ID and the password of your GoDaddy account. Then click on Sign In.
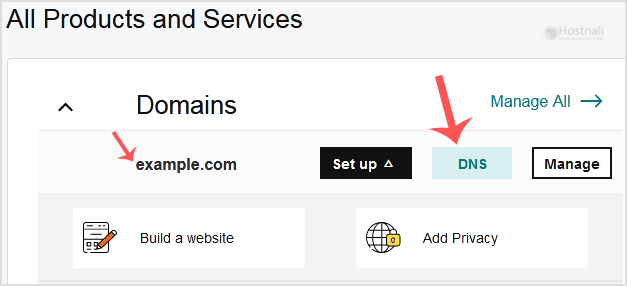
3. After a successful login, under the Domains section, open the app installer by clicking on the DNS button next to the domain you wish to manage.
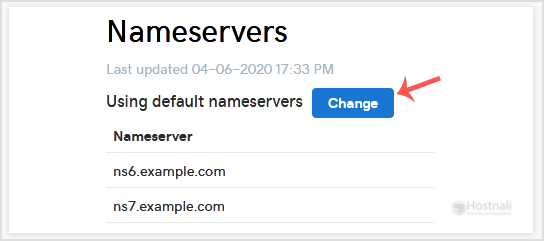
4. Scroll down to the Nameservers and click on Change.
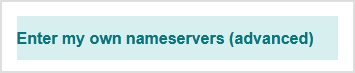
5. Scroll down to the end of the page and click on Enter my own nameservers (advanced).
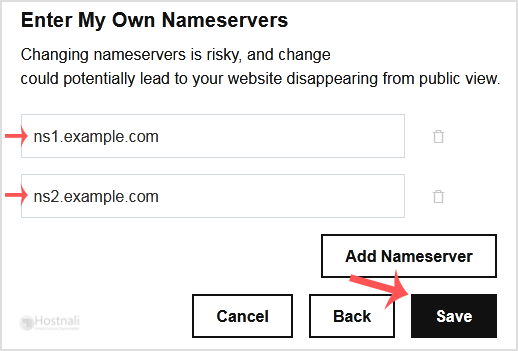
6. Enter your nameservers in the nameserver fields and then on Save.
Note: DNS Record changes can take 12 to 24hours to propagate worldwide.